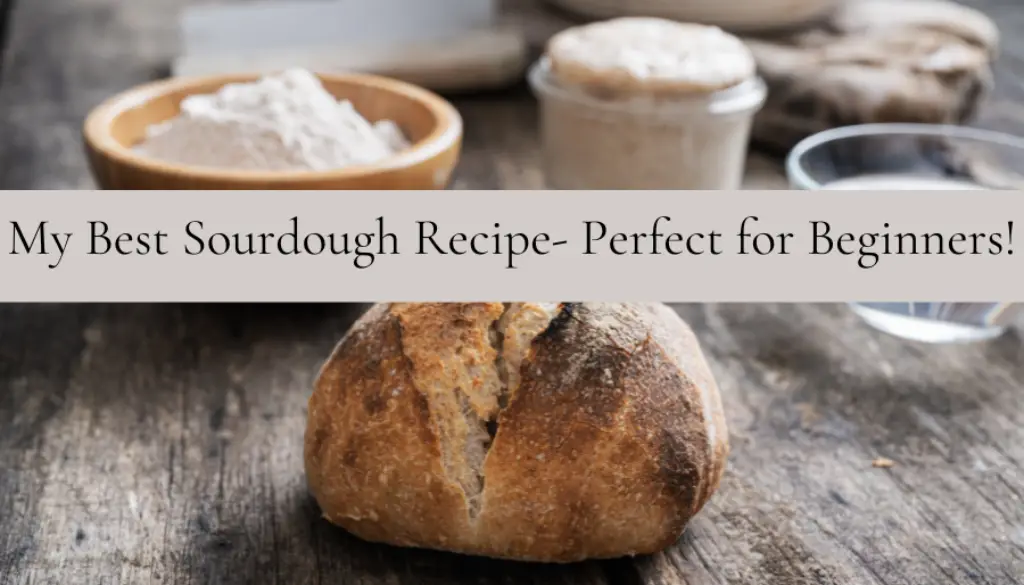
My Best Sourdough Recipe- Perfect for Beginners
Sourdough bread has been around for centuries, prized for its unique flavor, crusty exterior, and chewy texture. If you’re new to baking or have always been intrigued by sourdough, you’ve come to the right place. In this beginner’s guide, I’ll walk you through the basics of making sourdough bread at home! My best sourdough recipe is truly so delicious, and I mean that in the most humble way possible.
I’ve been working on a simple sourdough recipe for a while and have finally perfected it! This is truly my best sourdough recipe, and I’m so excited to share it! After countless test loaves, this homemade sourdough bread recipe is perfect.
Whether you’ve tried to make sourdough in the past, or you’re just now starting your sourdough journey, this easy sourdough bread recipe is for you! There are different ways to make bread and the important thing to remember is to find what works best for you!
I know it can seem overwhelming at first, but once you get the hang of it, you’ll never have to run out to the grocery store again! Can you imagine all the delicious possibilities once you’ve mastered sourdough? Once that first loaf cools and you get to cut into it and see all your hard work, you’ll be hooked!
What is Sourdough Bread?
To put it simply, sourdough bread is slow-fermented bread. It is made using a natural fermentation process that involves wild yeast and bacteria. Unlike commercial or instant yeast, which is added to the dough to make it rise quickly, sourdough relies on a sourdough starter—a mixture of flour and water that captures wild yeast and bacteria from the environment. From a health standpoint, it is far superior to conventional breads. It has a lower phytate level making it more nutritious and easier to digest, and many people who struggle to digest store-bought bread can enjoy sourdough with no issues.
Plus, It has a tangy and chewy texture on the inside, and a delicious crispy exterior, making it perfect for sandwiches, soups, and more!
In 2023, my resolution was to bake more bread. What started as a way to reduce our exposure to unnecessary ingredients became so much more. I found a love for baking and providing delicious homemade meals for my family.
I researched recipes and started baking sandwich bread, and once I mastered that, I was ready to move on to something more. That’s when I started experimenting with sourdough and created my best sourdough recipe. I now make
What do I need to make sourdough bread?
You’ll need a few things to make my best sourdough recipe, so let’s go over them. We’ll chat about ingredients in a little bit, but here are the supplies you’ll need to gather to make your loaves.
Banneton/ proofing baskets or round bowls
Hand towels for layering in your bowl and for covering dough during rest periods.
sharp knife or lame for scoring
Dutch oven– I have not made sourdough in anything but a Dutch oven, but it is possible to bake bread without one! You can use an oven-safe dish instead.
Large bowl for mixing
Optional:
Piece of parchment paper to place the dough on for baking
Bread knife– I love this knife. As someone who bakes bread every week, this makes my life so much easier!
Ingredients
This recipe makes 2 loaves
1000 grams of flour- I use all-purpose flour and have never had an issue. Bread flour also works well for this recipe.
650 grams room temperature water water
210 grams active sourdough starter
25 grams salt
Step-by-Step instructions
Today’s post covers a lot, but don’t worry! you’ll learn everything you need to perfect my best sourdough recipe and feel confident that your loaves with be a great success.
The great thing about this recipe is that it’s perfect for beginners. I’ll explain everything in simple terms so you know what to do. You don’t need a bread machine or a stand mixer, just a few simple supplies and a little time!
I usually make round artisan loaves, but this bread can be shaped into a more rectangular shape if that fits your needs better.
Making your own bread starts with an active sourdough starter. You can buy dehydrated starters from others, but why not learn how to make your own?
How to make a sourdough starter
Before you can even think about making even simple sourdough breads, you need a healthy starter. As I mentioned, sourdough uses wild yeast instead of commercial yeast, which means you need to have a healthy starter filled with healthy bacteria and yeast. I know this sounds odd if you’ve never made sourdough before, but you’ll get the hang of it!
To make a starter, grab a glass jar with a lid you can gently place on top. You don’t want to seal it as this prevents bacteria and yeast from growing. Your starter needs to breathe.
For 10 days to 2 weeks, you’re going to feed your starter a mixture of equal parts flour and water. Don’t worry about anything further than that for now. If your jar is more than halfway full, scoop out a spoonful and toss it. Once you’re more comfortable trying new recipes, sourdough discard can be used in hundreds of different ways to enhance a recipe, but we’ll cross that bridge another time.
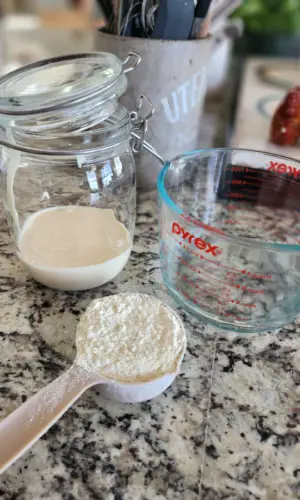
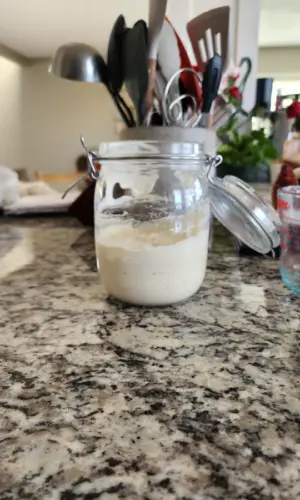
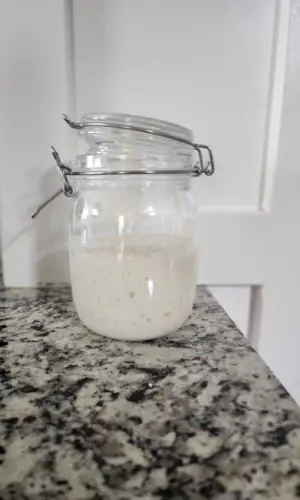
before feeding my starter, right after, and 2 hours after it was fed. Look at those beautiful bubbles!
My best tips for your sourdough starter
Set a reminder for every day at the same time so you don’t forget to feed your starter.
Add 1/2 cup flour and 1/2 cup lukewarm water to a glass jar and stir well.
Loosely cover the jar with a lid and store it in a warm place in your kitchen.
Repeat this process for at least 10 days.
After about a week, you should start to notice your starter grows after you feed it. If you’re unsure if this is happening after you’ve fed the starter, place a rubber band around your jar level with the line of your starter. A few hours later,
Perform a float test
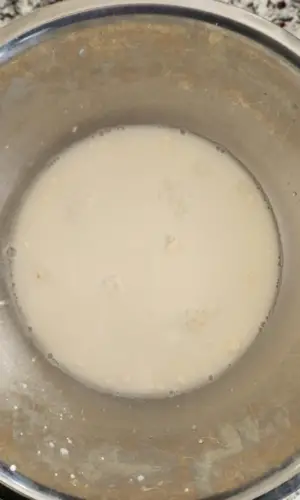
Before you can use your starter, it’s a good idea to perform a float test to ensure that your starter is ready to use. In a bowl of water, drop a small spoonful of starter in your water. If it floats, your starter is ready! If it does not float, feed your starter for 2-3 more days and try again.
Storing your starter
If you don’t bake regularly, feed your starter and store it in the fridge. When you’re ready to bake, pull your starter out a few hours before starting your dough, and feed it. It should spring up and be ready to use within a few hours.
If you bake on a more consistent basis, you can keep your starter out on your counter, feed it every 24-48 hours, and use it as needed.
Now that you have your supplies and a healthy, hungry sourdough starter, it’s time to bake!
Here is the full recipe for my best sourdough recipe
This recipe makes 2 loaves
1000 grams of flour- I use all-purpose flour and have never had an issue. Bread flour also works well for this recipe.
650 grams room temperature water water
210 grams active sourdough starter
25 grams salt
Grams are the most accurate, which is why I use a scale when measuring out ingredients.
Instructions:
4-6 hours before you start your dough, feed your starter ensuring it is active and bubbly.
Combine starter and water and mix until milky.
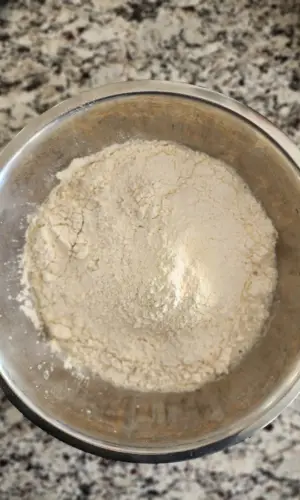
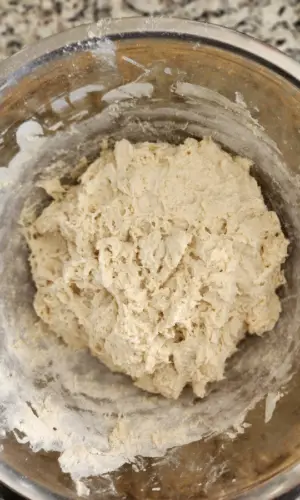
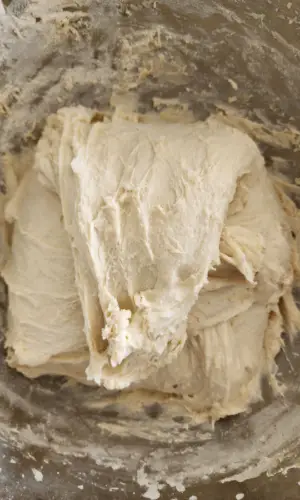
Add salt and flour and combine. The dough will be sticky. This is normal. Do not add more flour!
Cover dough and allow to rest- or autolyze for 1 hour. This is the first rise. This sourdough does not rise the way sandwich bread would, but you should notice it has grown a little bit.
Stretch and fold
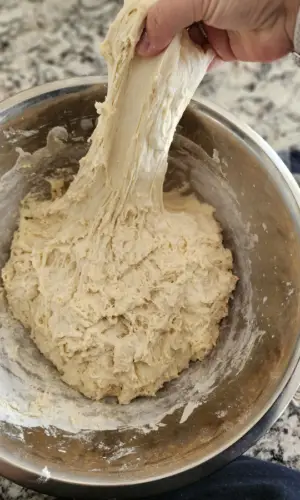
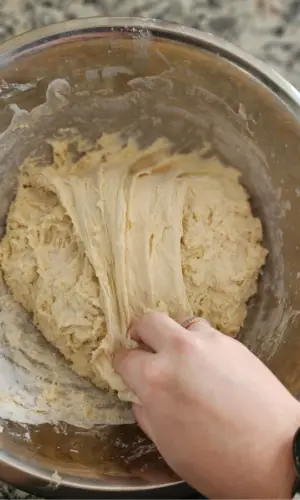
With wet hands, grab the edge of your bread dough, gently stretching towards the middle of the bread. Repeat this process, turning the bowl one-quarter turn until you’ve repeated this process 4 total times.
Cover the bowl with a hand towel and allow to rest for 30 minutes in a warm spot.
Repeat the set of stretches 3 more times for a total of 4 stretch and folds each 30 minutes apart.
Shape
Release the bread from your bowl onto a clean work surface. Let the dough rest for about 5 minutes.
Divide the bread into 2 equal parts and set one half aside.
With the other half of the dough, without ripping, stretch the dough into a rectangular shape. Fold one side of the dough towards the middle, then the other side, roll the dough into a ball and gently pull the dough towards you a few times to create surface tension. The goal is to pull the dough towards yourself without ripping it. Using a non-floured work surface is best for this as the dough will lightly stick to the counter.
Flour your banneton or line your bowl with a hand towel and flour the hand towel generously.
Place the bread dough upside down into your banneton, gently pinching the seams of the dough a few times.
Repeat with the second loaf.
Loosely cover each bowl with plastic wrap or plastic bags.
Bulk fermentation
refrigerate the dough for at least 12 hours, allowing the dough to bulk-proof. This helps bring the ingredients together cohesively, improves the texture, and improves the accessibility of the nutrients in sourdough. Don’t skip this step! I know it’s tempting to get to baking, but this step is crucial in the baking process.
Baking the dough
The next morning, preheat your oven to 500 degrees F and place your Dutch oven or other baking dish inside to preheat for at least 30 minutes.
Remove the dough from the refrigerator, and place it on the counter. about 5 minutes before you’re ready to bake, turn over the dough, placing it seam-side down onto your piece of parchment paper.
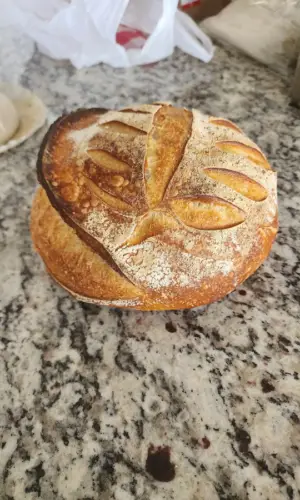
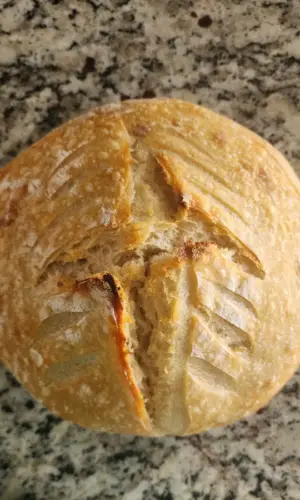
Score the top of your bread from the top to the bottom, or from left to right. This allows steam to escape in a controlled location, preventing the bread from cracking and baking incorrectly.
Place dough in your Dutch oven, cover with the lid, and bake for 30 minutes.
Remove the lid of your Dutch oven and bake your bread for another 5 minutes, or until the bread has reached a level of golden brown that you prefer.
Once your bread is done baking, remove the loaf from your Dutch oven and allow it to cool for at least 1 hour before cutting into.
Repeat this process with the second loaf.
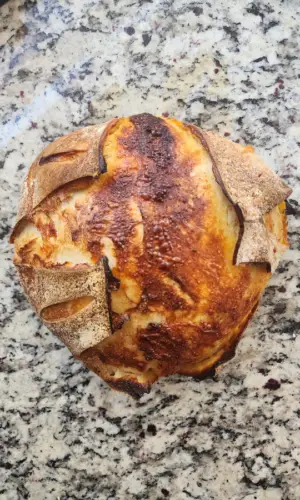
That’s it! Your bread is ready to cut into. Make sandwiches, or French toast, or pop it in the toasted and spread butter and a drizzle of honey over it and enjoy!
Common terms used in sourdough baking
- Autolyze- gently mixing ingredients to form a dough, followed by a period of rest. This is what you’re doing when you bring all your ingredients together to start your bread dough.
- Lame- A long stick device that holds a razor blade at the end of it, used to score bread and create designs on the surface.
- Score- Cutting into the surface of your dough to create a weakened spot, allowing steam to escape. Bakers do this to force the steam into a specific spot, preventing the bread from expanding in random areas. This can be with simple cuts in the dough or intricate and festive designs!
- Cold proof- Placing your dough in your refrigerator to proof, or rest for a longer period. This decreases the internal temperature of the dough and extends the fermentation process.
- Ferment- This process is used to enhance the flavor of your bread, allow it to rise, and increase the acidity and nutrients within your dough.
Sourdough can be overwhelming at first, I get it, but I hope that this post has encouraged you to try my best sourdough recipe and learn how incredible it can be to bake again! Remember to feed your starter, and take it one step at a time. If you find yourself getting too stressed out, take a step back and try again later.
This site may contain links to affiliate websites including Amazon. I may receive an affiliate commission for any purchases made by you through Amazon or other potential affiliates and no additional cost to you. Thank you for your support.

March 27, 2024 @ 3:48 pm
This was so helpful- I’ve always been put off by having to make a starter, but you’ve laid the steps out clearly!
March 29, 2024 @ 8:45 am
My brother suggested I might like this website He was totally right This post actually made my day You cannt imagine just how much time I had spent for this information Thanks.
April 2, 2024 @ 3:29 pm
Thank you for sharing your recipes. My husband and I are in our late 50th. I am trying to create healthier meals.